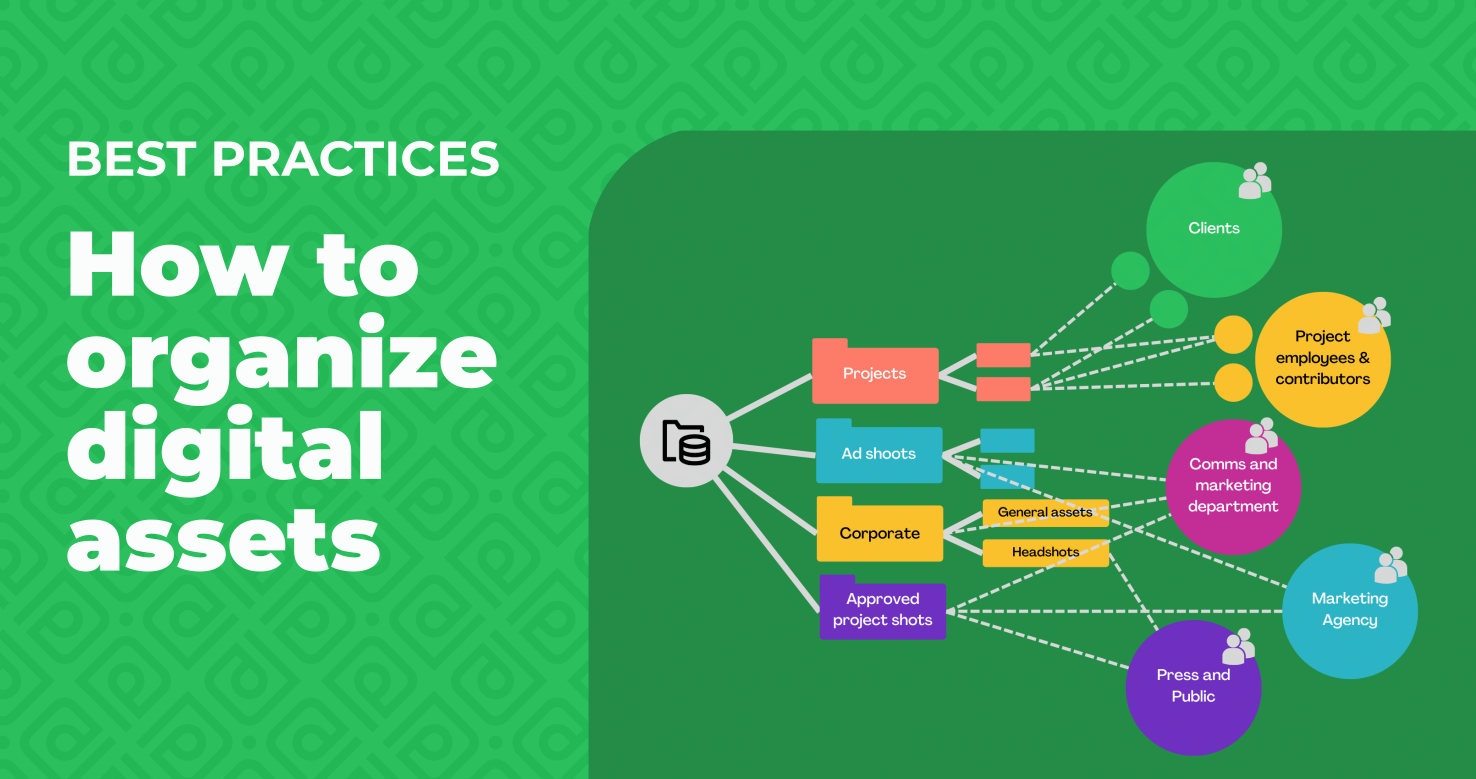
Digital Asset Management best practices: Organizing assets, in 7 steps
Your organization has decided to set up a media library or DAM to organize and distribute your images and videos and rationalize your digital assets. You might even have selected a software product already. Excellent!
But how should you proceed to actually organize the digital assets and create the media library and the processes that will maximize its benefits?
Different groups of people might need access to different but overlapping groups of assets. Some people might need to upload new assets while some others are external to your organization and must have very limited access.
Organizing your digital assets: best practices
There are multiple dimensions to consider when organizing your files. This guide will provide with a simple method and best practices to help you gain clarity on the demands you are facing, address them and make the most out your media library - for the long term.
The first steps will help you design a structure that is independent of the Digital Asset Management software you will use: it is important to plan the structure on paper before creating it into the software, to make sure your organization’s needs are what shape the library, not the software’s capabilities.
Step 1 - Identify the stakeholders
Even if you already have a clear idea in your mind about how to structure the media library, it is worth spending some time to methodically write down who will need access to the assets, how, and to what.
Re-organizing assets can be a big and painful task, so you want to create a structure that stands the test of time.
Let’s start with the stakeholders, ie. the people who will use the library: clarifying who they are and categorizing them will help form a clearer picture.
First, identify and list the groups into which the DAM users will naturally fall, assuming that people from a given group will normally share the same needs. Focus on the people and don’t think too much about the assets themselves yet, we’ll do that later on.
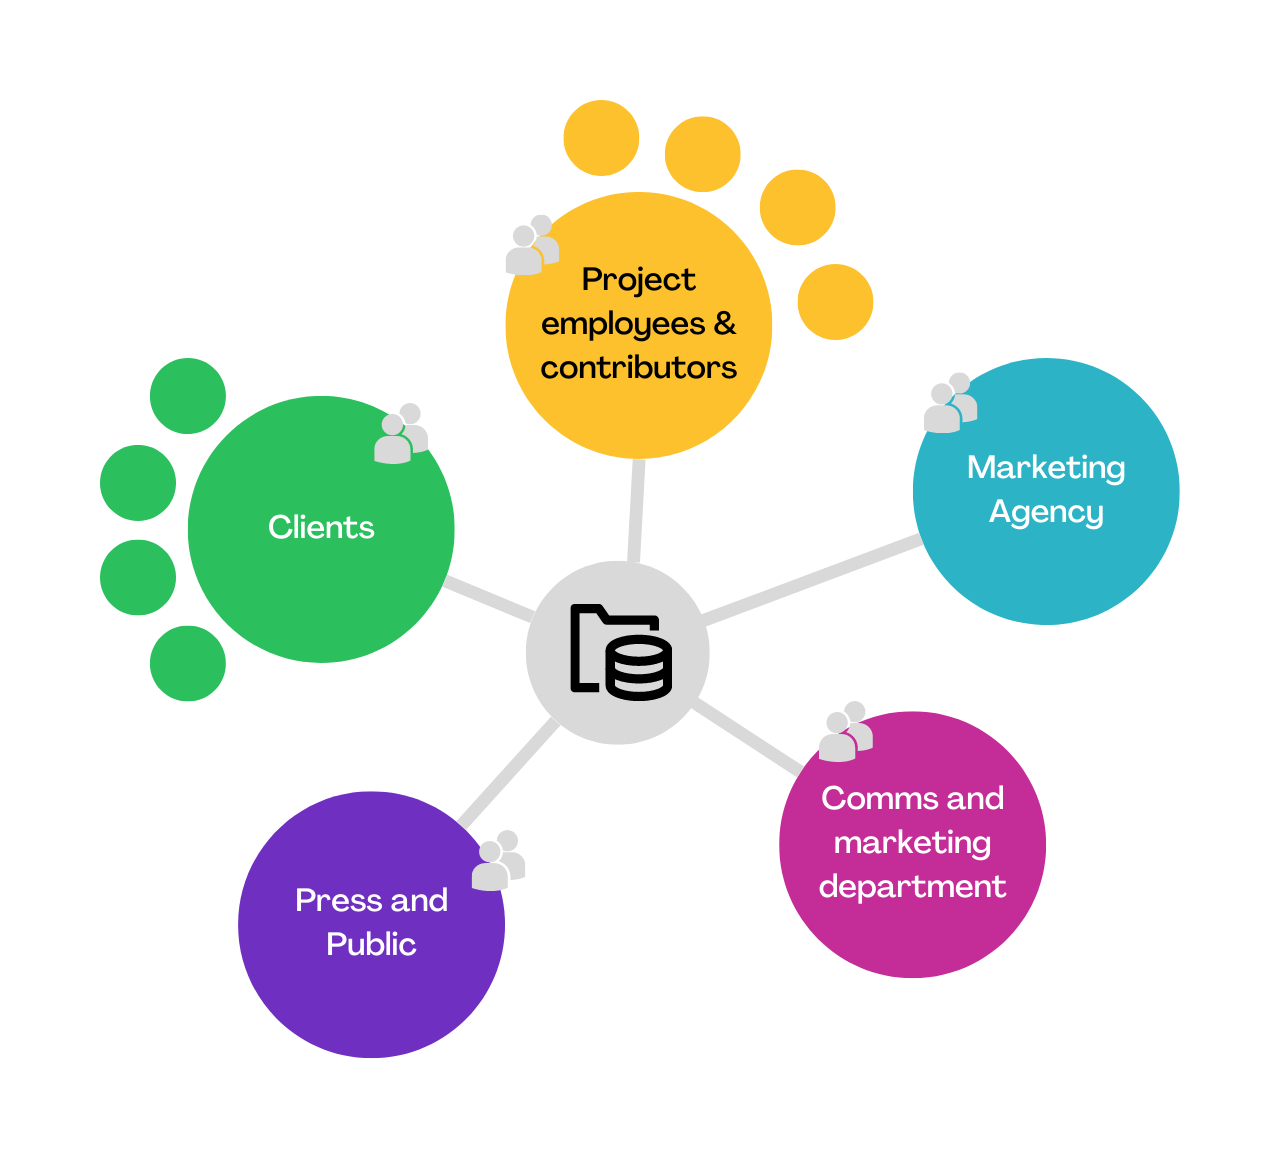
For each group, write down the following:
what role will they have in regard to the library: will they only consume (i.e. download and use) the assets, or will they be involved in adding and managing assets?
For example, the communication agency who updates your website and brochures might only need to be able to chose and download recently produced assets, while the team responsible for producing assets will need to be able to upload and manage the assets they produce.are they internal to your organization, or external? Note that the term “organization” is used here in a loose sense. For a large company, it might be just the department that manages the library, with employees from distant departments or local offices considered as “external” - just like a hired production agency might be considered as being part of the organization.
what typical use case examples can you think of? For example, a digital agency might typically want to access media for a specific campaign.
Are there other groups that might appear in the future?
Step 2 - List assets categories
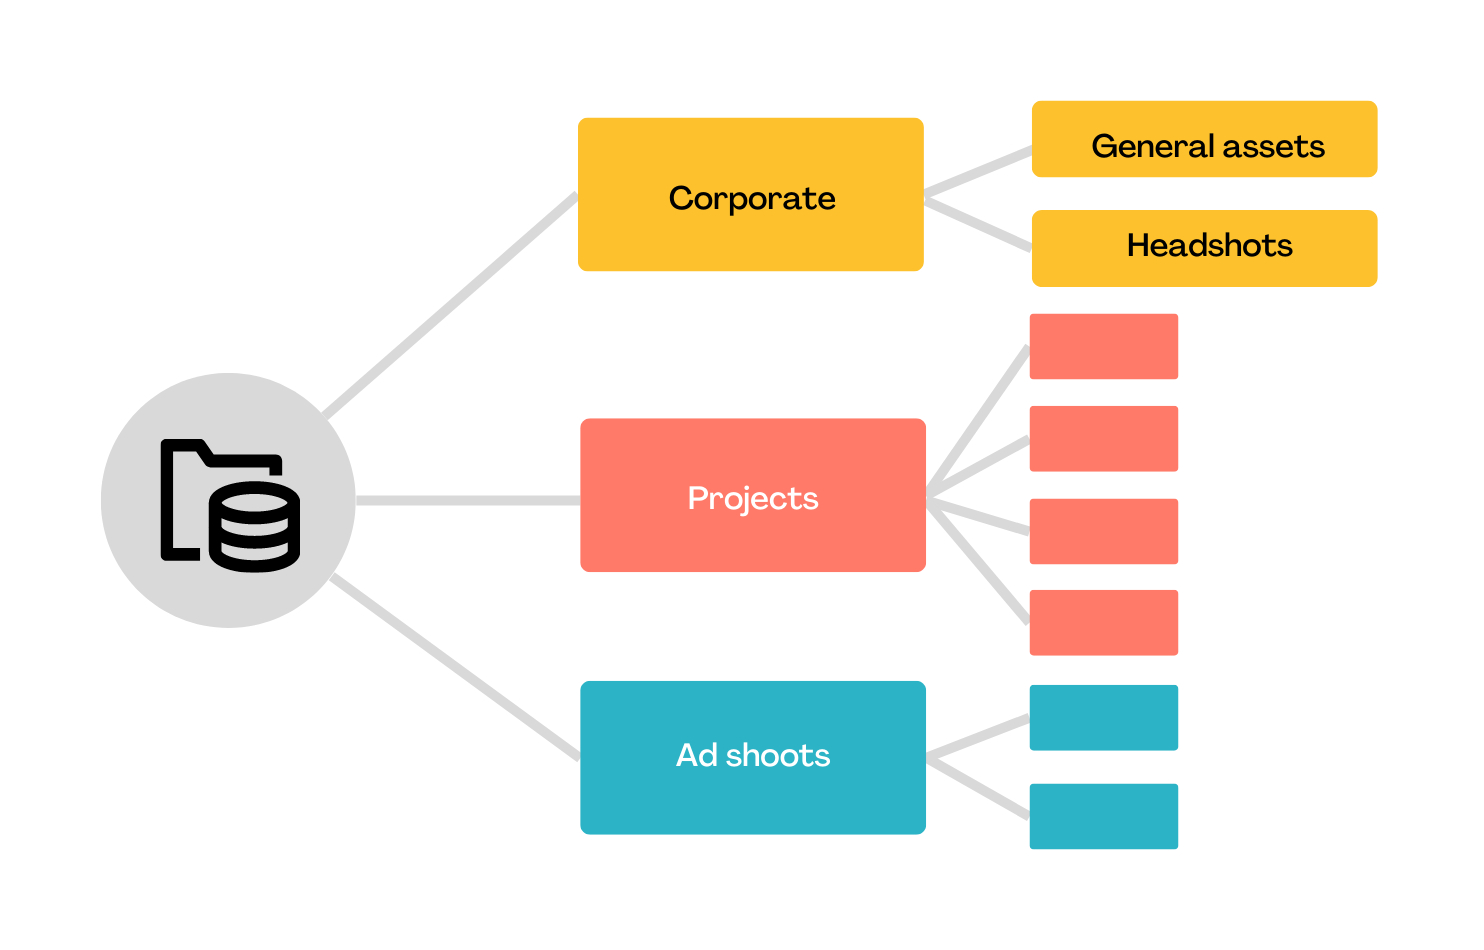
Now, turn your attention to the assets themselves, forgetting for a little while about who will access them. What natural categories and subcategories do they fall into?
For example, a company creating products might have categories for the products themselves (further split into sub-categories based for example on the product type), and an organization which work is organized in projects might group the assets by projects.
In addition, the media library might contain more generic branding and lifestyle shots for advertising and communication, management headshots, photos of internal or external events, etc… Those would then be separate categories.
Are there other attributes to take into consideration? For example, the age of the assets is often a factor. Should old product shots stay with current product assets, or should they be archived and organized differently?
Creating a full hierarchy of categories and sub-categories makes it easier to visualize and understand a collection as a whole, but it is important that the basis for the categories is clear and simple to stick in the long run. The categories should also be understandable by most stakeholders.
It is likely that some assets, now or in the future, will not fit neatly into the main categories: it is a good idea to anticipate and plan how they should be treated, and perhaps create categories in advance.
step 3 - Map the stakeholder groups to the assets categories - and iterate if needed
At this point, you should have on one hand a clear view of who will use the media library, and on the other hand on what kinds of assets it will contain.
Now is the time to start putting the pieces of the puzzle together.
DAM systems (including PhotoDeck) are usually organized in such a way that users are given access rights to hierarchical group of assets. Since it is beneficial for users to be able to browse through asset categories, the most natural and effective way to organize digital assets is by asset category, with access rights provided to specific user groups for each category or sub-category.
Therefore, go back to the list of user groups you created in Step 1, and for each group, check if you can simply map it to some of the categories identified in Step 2, so that 1) the users can access what they need, and 2) they don’t have access to what shouldn’t be accessible to them.
If it is not yet possible, try refining the categories until it is, for example by splitting some of them.
In some cases, it might make sense to create a separate “sub-library” for a given group. For example, you might want to have a very limited and curated set of images available to the Press, taken from multiple categories but dedicated to that user group: it would make sense to treat that group separately with its own “library within the library”, via for example a separate frontend portal (something that PhotoDeck offers).
These exceptions are allowed but for the sake of scalability, easy future maintenance and best practices, they should probably be kept to the minimum.
If massaging the categories from Step 2 doesn’t result in a clean mapping between the categories and the user groups, go back to step 2 to redesign the categories, and hopefully the process you’ve just gone through will help you find categories that can be mapped to user groups.
Once this step is complete, you will have designed the core structure of your media library. You now have a clear picture as to how the collections will be organized, and how different user groups will be provided access to the parts that are relevant to them.
Congratulations, you’ve well deserved a coffee break!
Step 4 - Understand how to implement your structure in the media library / DAM software
Now that the digital assets’ organization is clear on paper, it is time to look at implementing it into the Digital Asset Management software you’ve chosen.
The software should let you create the categories and subcategories just like you’ve designed them. Beyond that, each DAM solution has its own way to manage for example user groups and access rights, so you should take time to familiarize yourself with the inner workings of the software and its capabilities.
For example, PhotoDeck DAM is an easy-to-use solution that offers both frontend portals under your brand and optimized for consumption (browsing, searching, download…) as well as a backend interface that also allows uploading and managing assets and is optimized for working on the library.
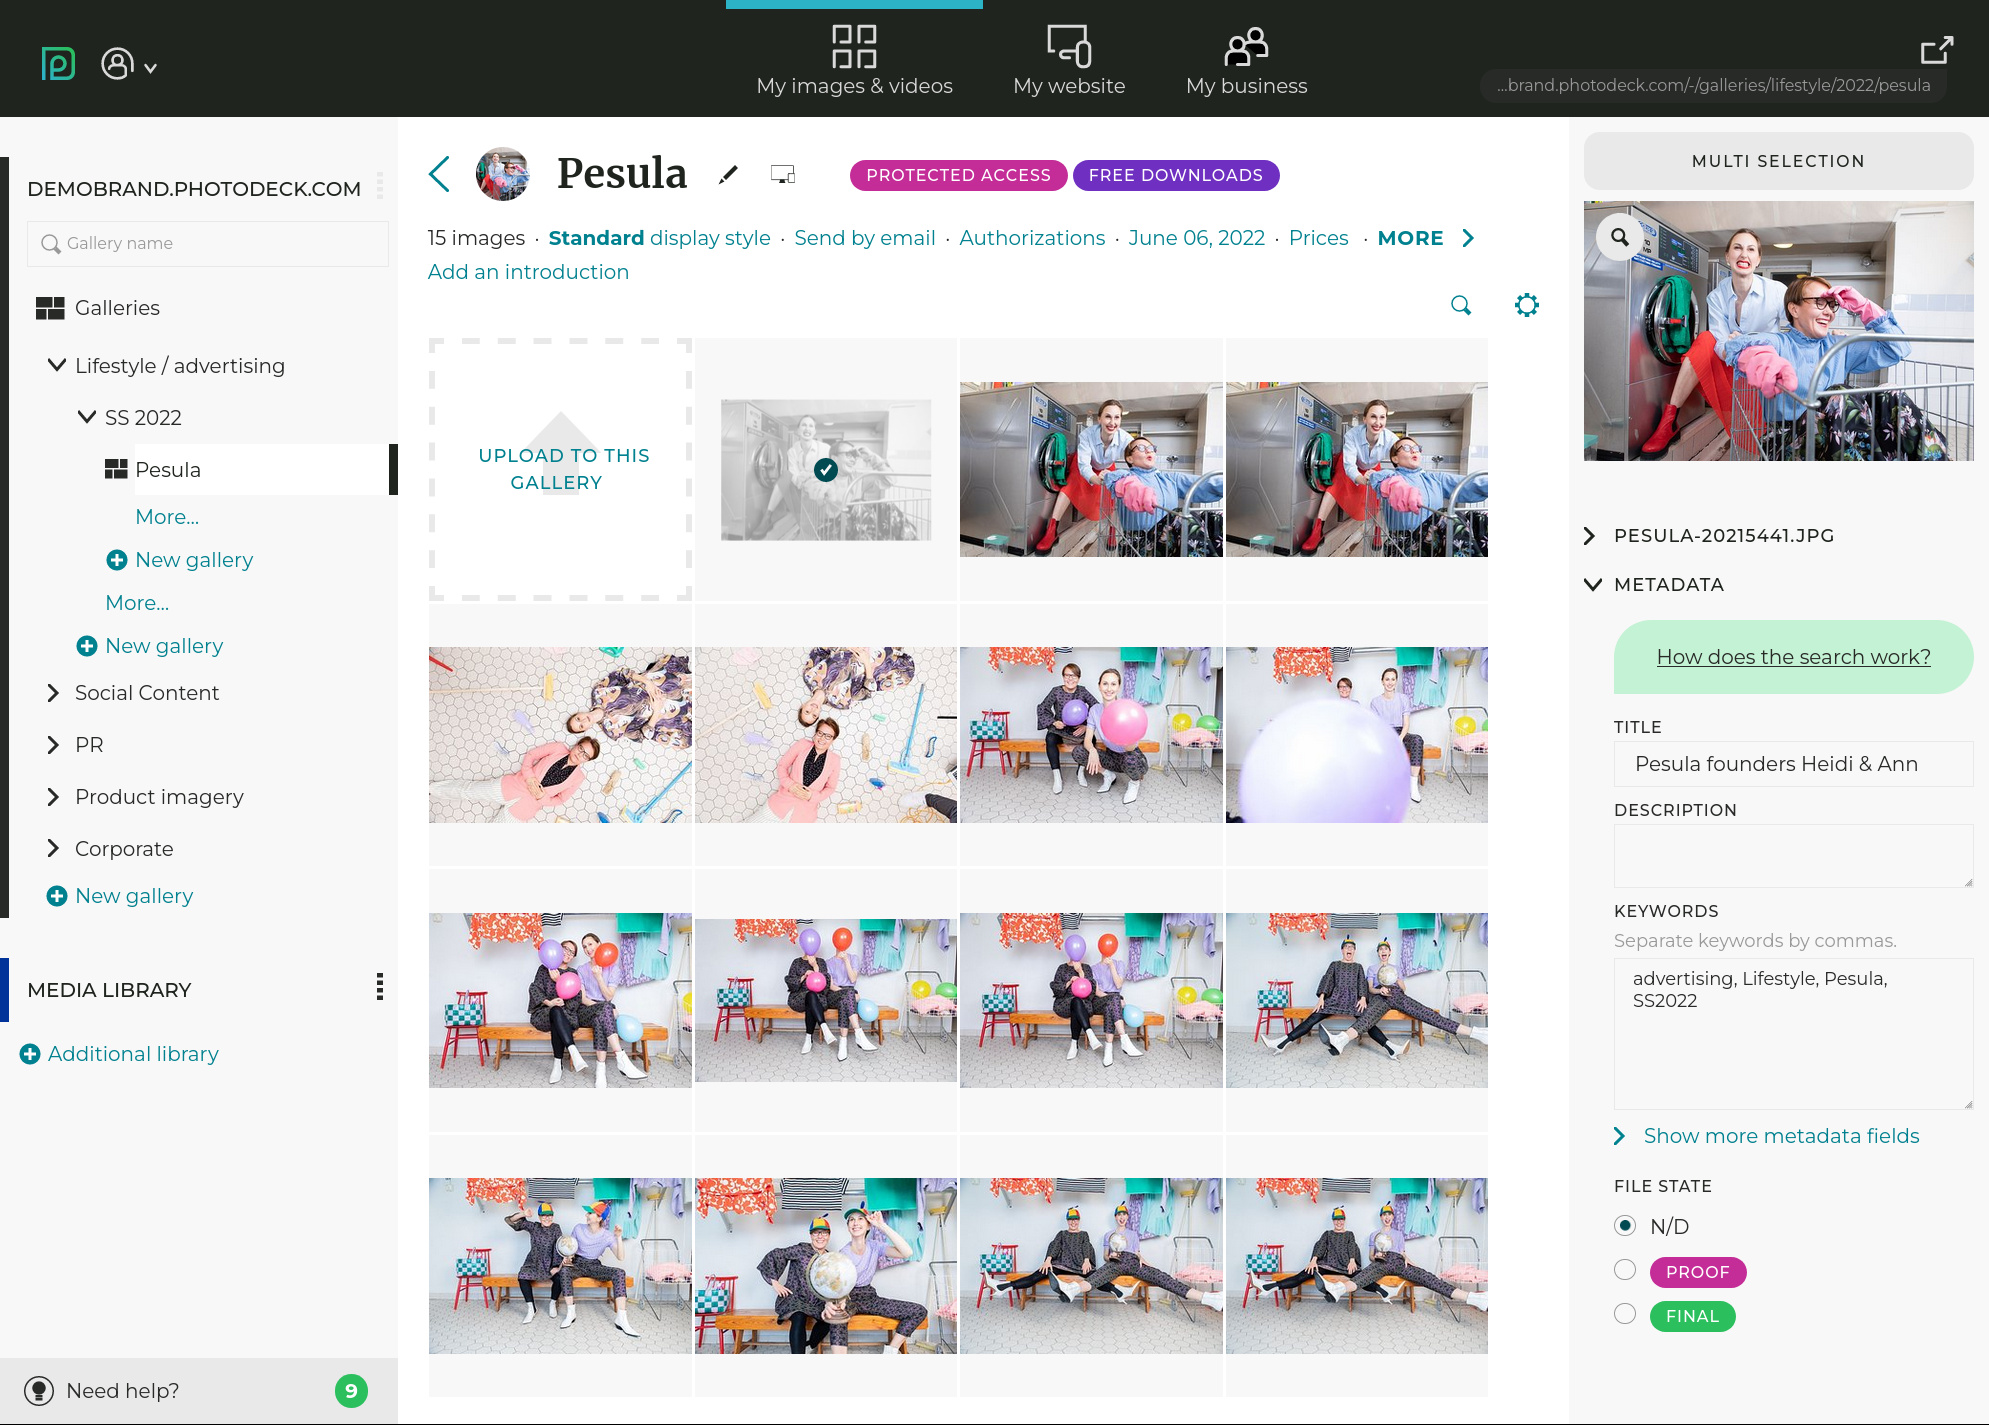
While some users will need access to the library’s backend (your core team and anyone who uploads and manage assets), other users, in particular external to your organization, will instead be better served by your branded frontend portal(s).
The accesses to the backend and to the frontend portals work in different ways and are managed separately, and this provides great flexibility. On the frontend portal, creating groups of users and assigning access rights to the groups once and for all makes it simple and easy to add new users.
In addition, in PhotoDeck the same asset can be published into different categories (“galleries”) without having to upload it multiple times. This can be very handy for assets that really fall into multiple categories, or for example when you need to create a sub-library for a specific group, with assets curated from the different main categories, and ensures that the same asset version is used everywhere.
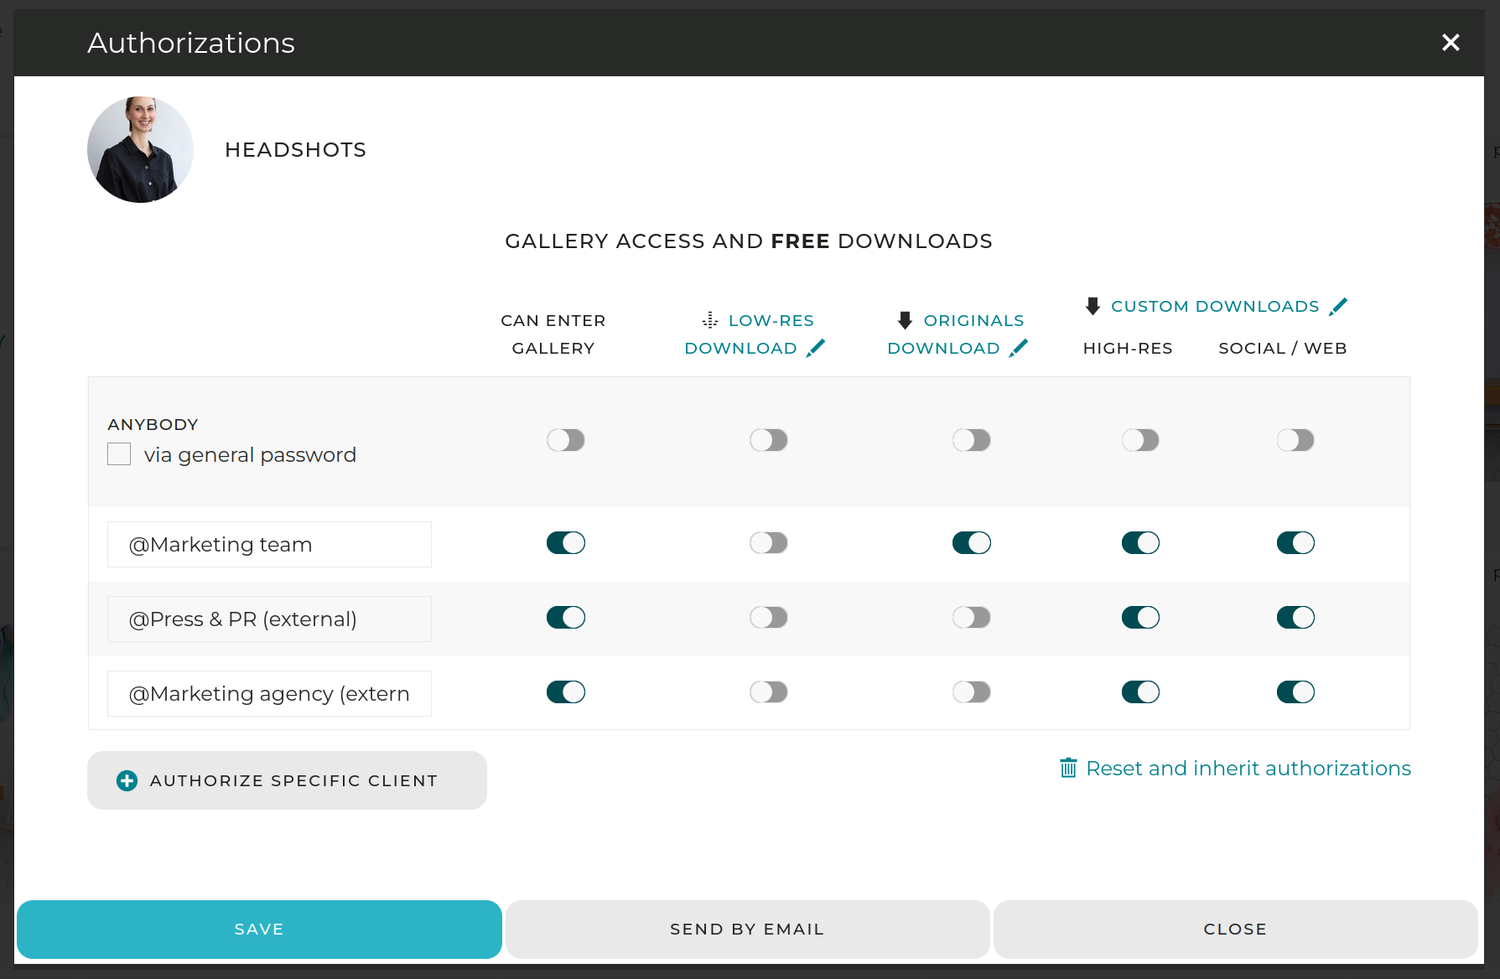
Regardless of what software you choose, this would probably be a good time to discuss with the vendor how to best implement your structure and access rights into the system!
Step 5 - Test and validate with stakeholders
Your library structure is clear and you now know how to implement it into the software you’ve chosen.
The obvious next step is to create the main categories, upload enough assets and add enough users so you can properly test things.
The key aspect to test is whether all stakeholder groups can easily get what they need, and that includes understanding how the media library is organized.
Before you start populating the media library for real, it is important to have as many stakeholder groups as possible quickly test their access and give feedback. Changing the structure and re-organizing things will be much more complex later on, so you want to make sure everybody is happy enough with your proposed solution!
At the same time, the test and associated discussion with stakeholders will also help identify specific use cases where the structure on its own falls short in helping them easily find what they’re looking for.
That is important input for the next step.
Step 6 - The elephant in the room: tagging / keywording
There is an important topic we’ve avoided so far: having a structure to organize and browse the digital assets is both necessary and very useful, but an additional way for users to find what they’re looking for is the search feature.
The search becomes important when a Digital Asset Management library grows, but it can be useful even for smaller collections: remember in Step 2 when we asked about all the assets’ attributes? As useful as they are, the categories cannot “cover” everything.
For example, in a library organized mostly around product categories, how to find all product shots used for a specific season? Or filter a category to view only the assets that feature people?
The search feature is invaluable, but it is only as good as the keywords / tags associated with each asset.
To be useful, asset keywording must be planned and executed with care. It must correspond to the way users are looking for the assets, to the way the assets are produced and used, and ultimately this depends very much on the organization itself and its own needs.
Automated tagging is rarely helpful. To provide with relevant keywords, algorithms based on machine learning / artificial intelligence must be trained in a way that is specific to the media library in question, and that is out of reach for most organizations.
So the best practice, if you chose to enable Search in the library, is to plan how assets are keyworded, i.e. to create a Controlled Vocabulary:
Based on the input from your users, make a list of attributes that files must be tagged with. These might be for example the year of creation, the campaign(s) it relates to, the production team it originates from, whether there are people featured, the channels it can be used for, the confidentiality level, etc…
For each attribute, you should define specific keywords (or a standard format) can can be used. For example, a search for “Spring summer 2023” won’t return assets tagged with “SS2023”, so it’s important everybody uses the same keywords, and that dictionary of standard keywords is your controlled vocabulary.
Like for the basic structure, creating a keywording strategy is teamwork that requires stakeholders to be involved.
Step 7 - Document the asset strategy
If you’ve reached this step, you’re almost there! Make sure it wasn’t in vain, and document it accurately: it will be useful down the road when it’s not clear anymore why that specific organization was chosen, or how exactly it should be used. It will help prevent it from slowly becoming a mess.
Document how the digital assets are organized in the library and how new assets should be added in the future (perhaps with do/don’t examples), how users should be given access, etc… The documentation should be kept up to date when you alter the structure.
If you are relying on asset keywording, it is paramount to clearly document the vocabulary and the keywording process so that anyone adding new assets has a simple guide to tag them properly (this will also make the keywording task easier).
Ensure that the documentation is readily accessible to anybody managing the media library, and that people using the search feature can also easily refer to the vocabulary (for example on PhotoDeck you can add a customized search page with tips and instructions).
If you work for a large, hierarchy-heavy organization and anticipate that different groups will contribute to the library, getting the documentation and processes approved by the management might help ensuring people will stick to it.
Learn more about PhotoDeck’s DAM solution ›